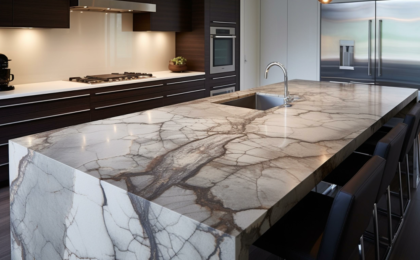
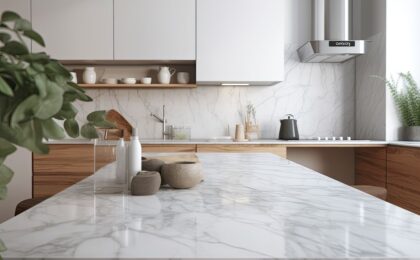
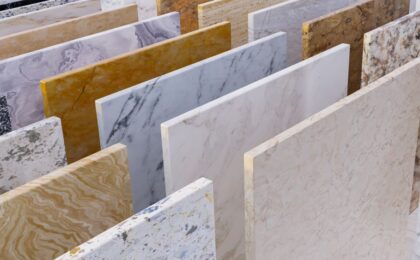
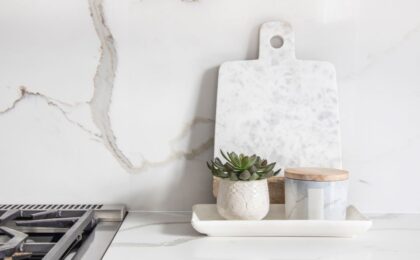
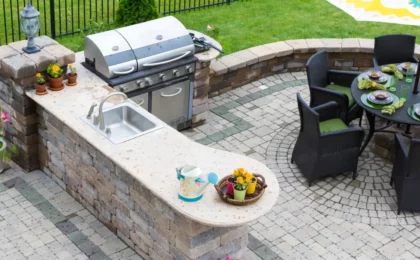
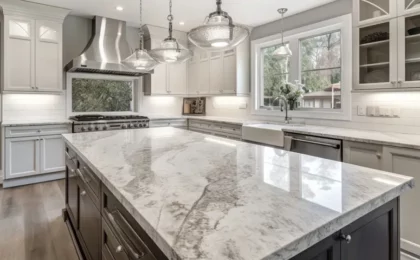
Marble is a popular choice for kitchen and bath countertops in Utah. It is a beautiful and resilient material that fits right in with Utah’s natural environment. In order to get the most from a marble countertop though, it needs to be sealed. Sealing marble guarantees it will last longer.
Marble countertops don’t have a lot of downsides. But their biggest downside is one not to be ignored: marble is a very porous surface. As such, it readily accepts water and stains; it actually absorbs liquids it comes in contact with. In the absence of a sealer, marble countertops are easily stained.
The good news is that sealing isn’t difficult. It needs to be repeated every year or so, but you can do the job in about an hour or two. A properly sealed marble countertop will provide years of reliable service.
Adding a Protective Barrier
So what does sealing marble countertops actually do? It adds a protective layer to the top surface of the stone. The layer is moisture-, stain-, and chip-resistant. You still need to be careful to properly maintain sealed marble countertops, but you don’t have to treat them like fine crystal or expensive china. A high-quality sealer can withstand quite a bit of punishment.
Sealing would be part of the service if you were to purchase marble countertops and professional installation through Bedrock Quartz. In terms of ongoing maintenance, you can hire a contractor to handle annual sealing or do it yourself.
DIY Sealing: How It Works
Sealing marble countertops by yourself is not a complicated process. However, it needs to be done right for maximum benefit. The first step is figuring out whether the countertops actually need to be resealed. This is easily done with a water droplet test. Choose several different locations spread across the entire countertop surface and apply a few drops of water at each one. If the water beads up, your current layer of sealer is still doing its job. If the water soaks in, it is time to reseal. Here is a step-by-step process for DIY sealing:
Step #1: Thoroughly Clean the Surface
Marble countertops must be thoroughly cleaned before they are sealed. Otherwise, any dirt left behind will end up being embedded in the sealer. You will not get a professional looking finish. In addition, the sealer might not adhere properly.
If you are only dealing with loose dust and other particles, wiping the countertops down with a damp cloth should suffice. Use a specially formulated marble cleaning solution if you need to remove stains.
Step #2: Apply the Sealer
After cleaning, give the countertops sufficient time to dry. Don’t attempt to put sealer on top of damp countertops. Also be sure to use a sealer that is specifically designed for marble. Do not take your chances with an all-purpose sealer that may or may not work well with stone products. And one last thing: be sure to follow the instructions on the package – to the letter.
Step #3: Leave the Countertops to Dry
The final step is to leave your freshly sealed countertops to dry. But don’t just walk away and forget them. Pay attention to how the marble reacts to the sealer within the first 15 to 20 minutes. If the sealer lays on top of the surface, you’re good to go. But if it soaks in, you may need to apply a second coat within that 15-20 minute period.
Freshly sealed marble countertops should be left unused for 24 hours. The 24-hour rule guarantees plenty of time for the material to dry and cure.
